Vintage cars never go out of style, but they do take a beating over the years. Successful car restoration, breathing new life into your 25-year-old vehicle, is like giving life to a historical piece from the bygone era of automotive history. These cars evoke nostalgia and craftsmanship that’s truly unique in today’s factory-built automobiles.
However, the revival journey for these classic cars is not without a challenge. So, before accelerating your project, let us give you some tips for a successful vintage vehicle revamp.
Understanding Vintage Cars
What counts as a vintage car? A car is classified as vintage if it’s 25 years old or older. That’s right: once your vehicle hits the quarter-century milestone, it’s officially “vintage.”
The allure of vintage cars doesn’t just come in their beauty, but also in the emotions they stir and the historical significance they carry.The skilled craftsmanship they exemplify, from a specific era in which they were meticulously engineered, is unique in modern mass-produced automobiles. You can see from every curve that these old cars were not just a means to go from one place to another—they’re mechanical marvels that tell a story.
Choosing the Right Car
When choosing a car, here are the considerations that you have to factor:
Personal interest: Whether it’s the design or performance, make sure that the vintage beauty you’re eyeing is of your taste and preference.
Rarity: The scarcity of the car gives way to intense desirability, adding potential future value for collectors.
Availability of Parts: If you have no access to the car parts needed for maintenance and restoration, it will be difficult to keep your car functional and in pristine condition in the long term.
Planning Your Restoration Project

Don’t go careening into your car restoration project; prepare thoroughly to achieve your desired results.
Take the time to go through these steps:
Setting Goals
Do you want your vintage car to have a full restoration? Or do you only want it partially restored in specific areas? Evaluate your restoration goals, and from there you can determine the scope of your project and the resources required to complete it (time, money and effort).
Budgeting
Estimate the costs for your restoration project, such as the car parts, labour and other expenses associated with any upgrades you want to have.
Also, be sure to plan for unexpected expenses by setting aside funds to cover unforeseen costs that you might have overlooked.
Creating a Timeline
Earlier on, set realistic expectations for project duration. Create a timeline by weighing the restoration project’s complexity and the availability of the parts. Restoration projects take time, so be sure to allow some “buffer time” in your schedule to accommodate delays.
Preparing Your Workspace
Here are the essential tools that you need to set up your restoration workspace:
• Hand tools (pliers, hammers, screwdrivers, socket sets)
• Diagnostic tools (scan tool, multimeter, circuit tester, battery tester)
• Painting supplies (spray gun, polisher, cutting pads, sandpaper)
• Power tools (car jack, grinder, air compressor, puller kits, impact wrench)
Organising Space for Efficiency and Safety
An organised space is a clear mind. So keep your working space in order with tools labelled and easily accessible. In addition, there should be ample space to work without disruption. And while you’re at it, maintain good air circulation, especially important when you’re handling paints and other chemical solutions. While working, always wear protective gear (gloves, goggles, mask and hearing protection) and have a first-aid kit ready at the side.
Evaluation and Assessment
Condition Assessment
Before starting the engine of your restoration project, carefully assess the condition of your vintage car first.
Inspect the body and frame of your car. Look for dents, decay, or any structural damage.
Then, assess the interior condition such as the seats, centre console, steering wheels and other inside components. If you see tears or declining parts, have them replaced.
Next, check the engines for oil leaks, a faulty cooling system or worn piston rings. Make sure that every component in your engine is running smoothly. If there are issues, have them rebuilt.
Finally, survey the mechanical systems like the brakes and electrical wiring. These are critical components in your vehicle to identify and test to avoid any risk on the road.
Documenting Findings
Create a well-organised checklist of the repairs needed for your car. Categorise them by urgency level and focus on high-priority repairs first.
This checklist will be your roadmap, ensuring you’re taking the necessary steps and that nothing is amiss.
Bodywork and Paint Restoration

Addressing Rust and Damage
Rust is a problem that every car goes through at some point in its life, especially in vintage cars.
To address your car’s rust and body issues, here’s what you have to do:
Using a wire brush, scrub the rust away in the affected area. You can also apply any chemical solution to treat the rusted car part. However, if you’re faced with stubborn rust, you can cut off the metal and weld a new frame.
For body repair, use body fillers to smooth and even out any dents and dings on the surface of your vehicle. If the damage is bigger, you might need a panel replacement.
After you’ve repaired the imperfections, thoroughly clean the surface of your vintage car to ensure better paint adhesion.
Painting Techniques
To keep the vintage beauty of your ride, you must be able to choose the right paint and adhere to the right application techniques.
Choosing the Paint
To achieve an authentic vintage look, consider using enamel, lacquer, urethane, or water-based paints.
Enamel, in particular, is very durable, although it lacks that deep shine available in other coatings. Meanwhile, lacquer is easy to apply and has an amazing gloss, but not as durable as enamel paints.
For modern alternatives, you can try urethane. It’s durable and has great resistance to chipping. Water-based paints are also another option; they’re easier to clean and are an eco-friendly painting alternative.
Application Methods
Begin by applying the primer. Once the primer has set, apply thin colour coats, allowing drying time, for at least a day. Then, go back to the paint with the sandpaper, sanding between coats to achieve your desired finish.
Painting Techniques
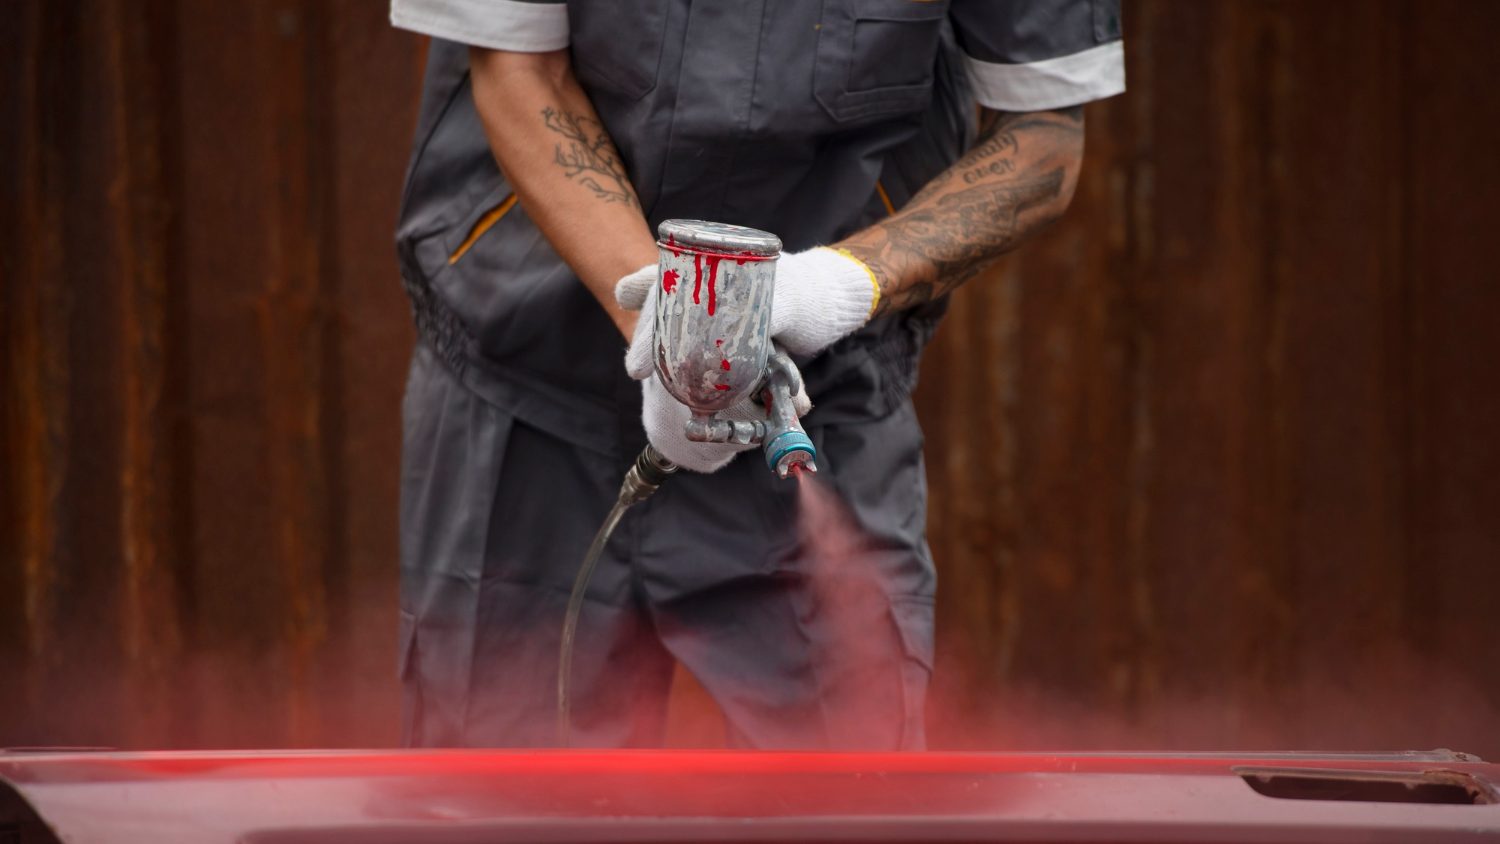
We recommend using a high-quality spray gun for paint application so you can achieve a smooth and even finish. Start at the edges in a back-and-forth flowing motion. Work your way up slowly in small sections while applying the paint evenly and thinly. Remember, you want to keep your distance from the gun while you’re shooting the spray gun.
Mechanical Restoration
Engine and Transmission
Perhaps one of the most crucial parts of your vintage car restoration project is the engine and transmission. Why? Because these components play a huge part in your car’s superb performance.
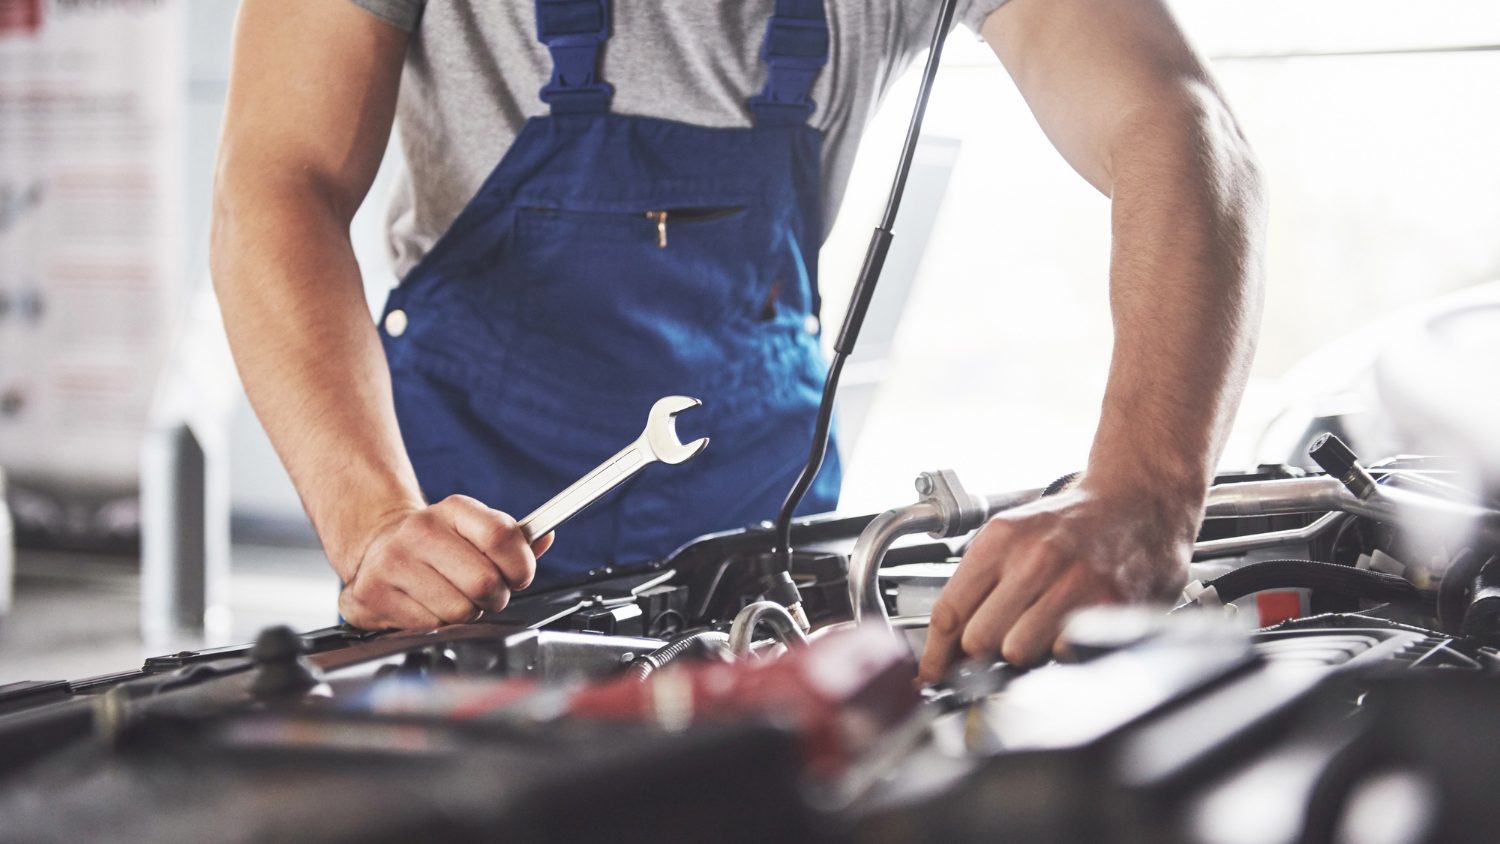
For your engine’s restoration, you may have to rebuild this critical component of your car. By rebuilding, we mean dismantling and cleaning the parts and having them replaced as needed. Before installing the new parts, make sure the engine is running smoothly.
Just like the engine, you may have to take the transmission apart and replace any component that is damaged. Pay attention to common glitches in the gears, seals and clutch plates.
Suspension and Brakes
While performing restoration, another key aspect to pay strong attention to is the suspension and brake systems. Inspect your suspension components, and if there are worn-out or damaged parts, change them out. Replacing the suspension is particularly advantageous for vintage cars because it can really enhance the ride experience.
The same thing to the brakes; carefully check the pads and other brake components and ensure damaged lines are fully restored. Brakes are not just vital to ensure optimal performance but, most importantly, to secure your driving safety.
Interior Restoration
Upholstery and Trim Work
Since you’re going for the true vintage appearance, you have to match materials to their original specifications. From the fabric to the colour, it has to be reflected in the original aspects of the vehicle. If you need to source the materials from other manufacturers from other places, go for it. This way, you preserve your car’s integrity and maintain its authenticity.
Electrical Systems
These are old cars aged 25 years and beyond; of course, the wiring is going to deteriorate. So, before you encounter any electrical failures while driving, refresh the electrical system and ensure every component is in good condition.
If there are modern wiring that are close to the original design, we would suggest using them to improve your car’s performance without sacrificing the essence of your vintage ride.
Reassembly and Testing
Putting it all Together
Alas, we got to the final stages of your restoration process: the reassembly and testing. Use the guidelines outlined in your restoration documentation to guide you through the correct reinstallation procedure.
The process kickstarts with attaching the body frames and putting together the car’s engine. Afterwards, you can start working on the interior part of your car. While reassembling, check the alignments, tighten bolts and attach the wires you removed.
Final Testing
Before hitting the road, do one last sweep of all your car’s systems. Ensure that the engine accelerates smoothly, the braking system is responsive, and the electrical system is working. And the steering and suspension are stable and controllable. Better yet, perform a test road and see how the systems are operating for longer drives.
Maintenance After Restoration

Regular Servicing
Like everything else, you have to maintain your vintage car. Ongoing maintenance is key to preserving the restored condition of your auto and its performance. If you can address the little issues with your vehicle, you can prevent it from further escalating and maintain the value of your car.
Storage Considerations
To protect your car from harmful elements lurking, one of the things to pay attention to is proper storage:
- Be sure to keep your car in a temperature-controlled space where rust growth and other bacteria can’t take root.
- Cover your car using a breathable sheet to prevent moisture, dirt or UV rays from seeping in.
- Make sure the tank is loaded to avoid moisture buildup.
- If you plan to store your car for longer periods, disconnect the battery to prevent it from draining.
- Using a car jack, lift your vehicle off the ground once in a while to avoid flat spotting, which happens when the tyres are pressed down too long, resulting in damage and an uneven ride.
Conclusion
And there you have it, mates: all the important tips to revive the vintage beauty of your car. Life’s a ride, and building your vintage car is like building those memories back. It brings us joy. However, the craftsmanship associated with it presents a strong challenge.
Ultimately, restoring a vintage car that never goes out of style brings huge satisfaction, making your effort worthwhile, especially for car enthusiasts. So, embrace the journey as a labour of love. But if you need experts to guide you through the process, GIA Smash Repair will be happy to assist you. We work to give you quality vehicle service and great satisfaction.
